Four reasons to learn HTML + CSS as an R programmer
Webdev
With HTML + CSS you can unfold the full potential of many popular R tools. We explore some of these use cases today.
Author
Albert Rapp
Published
July 16, 2023
It’s easy to think that R users do not need HTML & CSS. After all, R is a language designed for data analysis, right? But the reality is that these web standards are everywhere, even in R. So, let’s talk about four popular R tools where you can definitely benefit from understanding these languages.
Text colors with {ggtext}
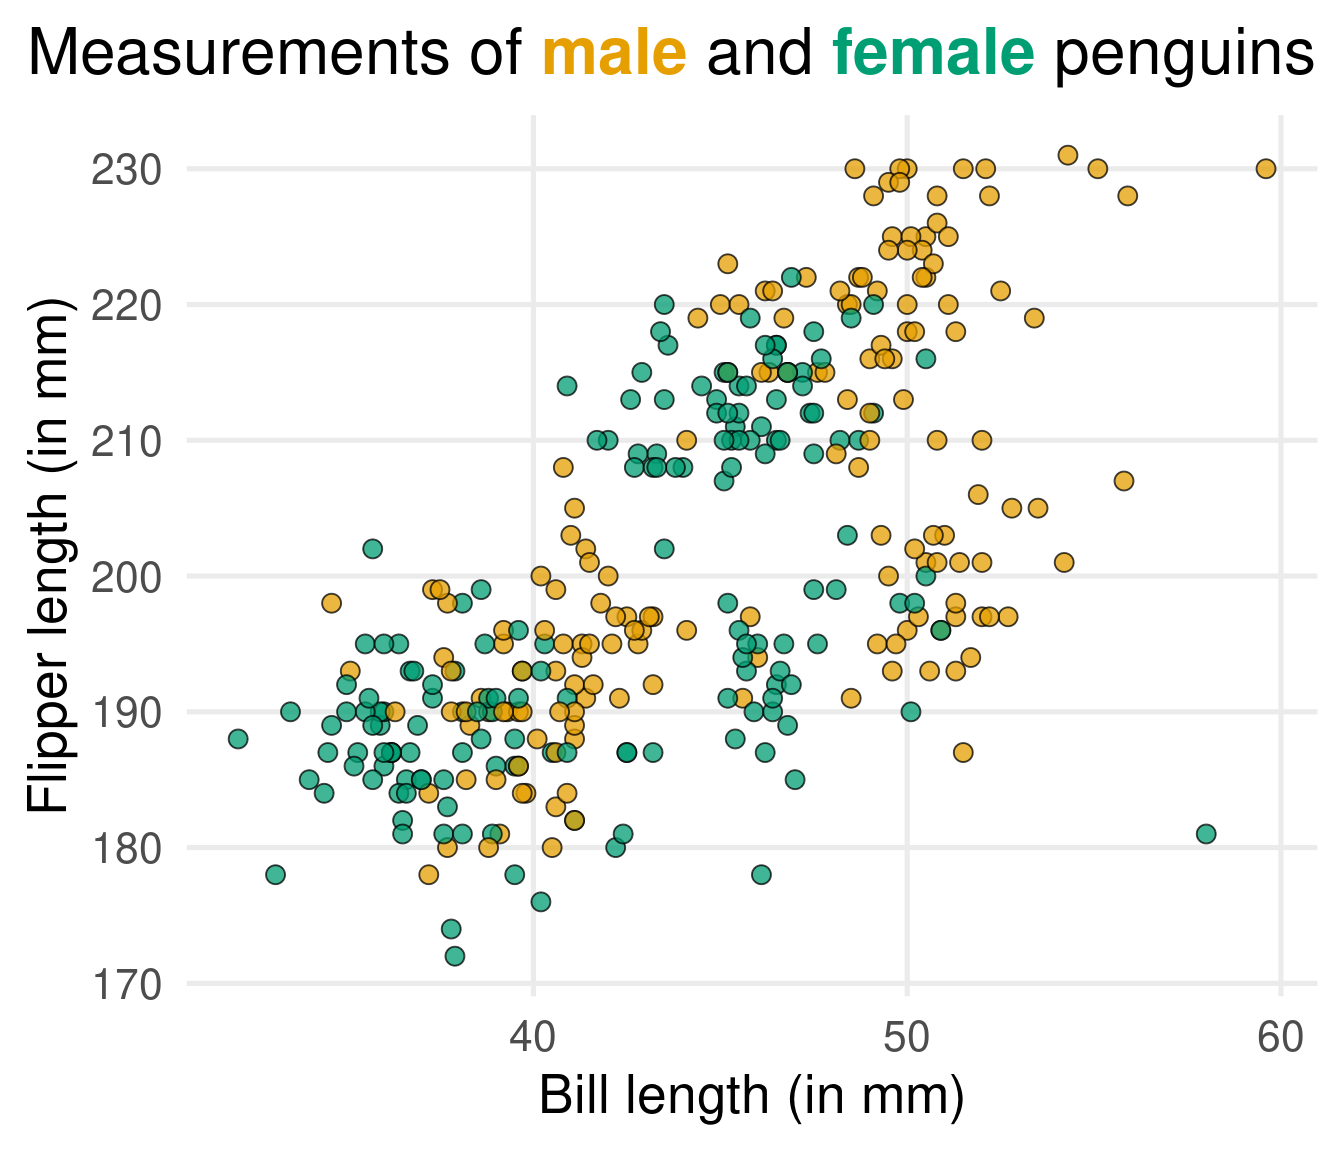
Have a look at this dataviz:
Code
library(tidyverse)colors <- thematic::okabe_ito(2)names(colors) <-c('male', 'female')palmerpenguins::penguins |>filter(!is.na(sex)) |>ggplot(aes(bill_length_mm, flipper_length_mm, fill = sex)) +geom_point(size =3, alpha =0.75, col ='black', shape =21) +theme_minimal(base_size =20) +theme(legend.position ='none',panel.grid.minor =element_blank(),plot.title.position ='plot',plot.background =element_rect(fill ='white', color =NA),plot.title = ggtext::element_markdown() ) +labs(x ='Bill length (in mm)',y ='Flipper length (in mm)',title = glue::glue('Measurements of <span style="color:{colors["male"]}">**male**</span> and <span style=color:{colors["female"]}>**female**</span> penguins') ) +scale_fill_manual(values = colors)
Instead of using a separate legend, it colorizes words in the title. This way, it becomes clear which color refers to what. In dataviz, this technique is quite common. You can create such a title with {ggtext}. There are two steps for this:
Create a title that uses span-tags. That’s HTML & CSS right there!
Activate HTML & CSS with element_markdown() in theme().
Tables with {gt}
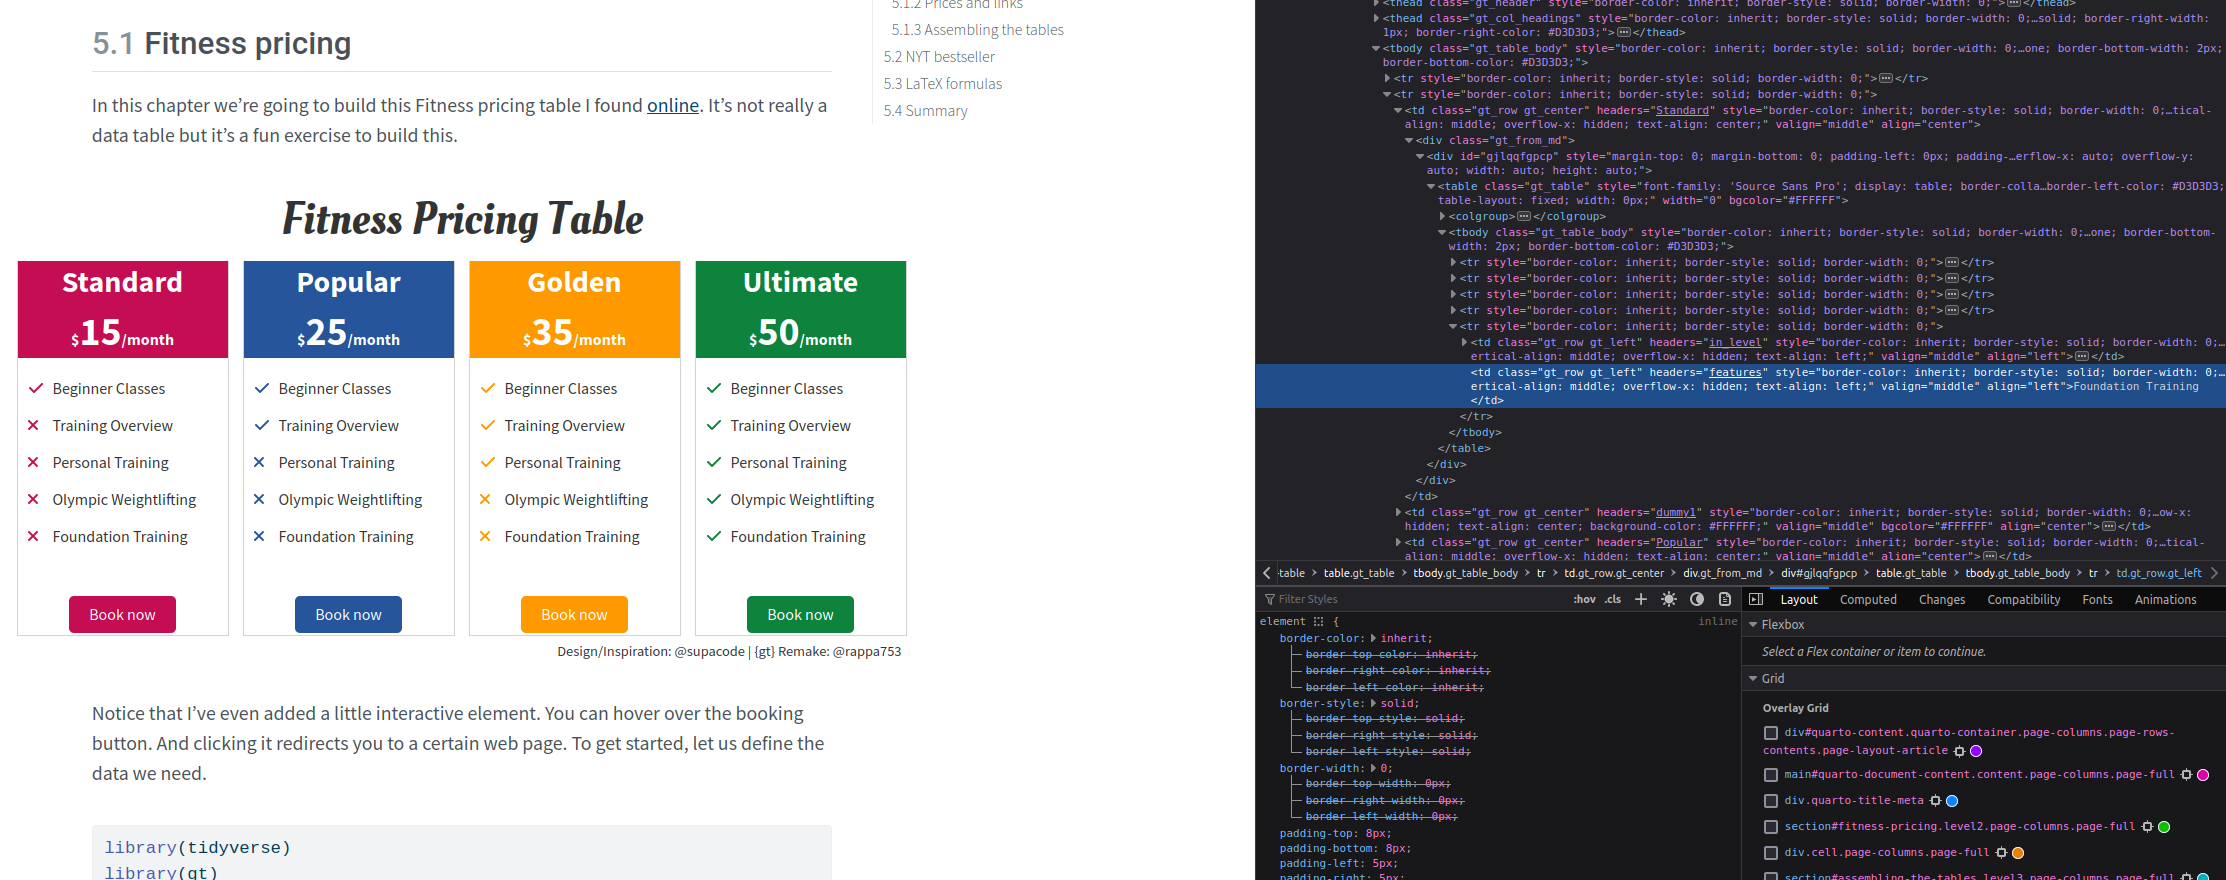
You can create beautiful tables in R with {gt}. While it is possible to use {gt} without any knowledge of HTML & CSS, there are at least two instances where this knowledge can come in handy.
Debugging: You can use the web developer view of your web browser to inspect the source code of the table and identify any issues or errors, such as missing borders or incorrect formatting.
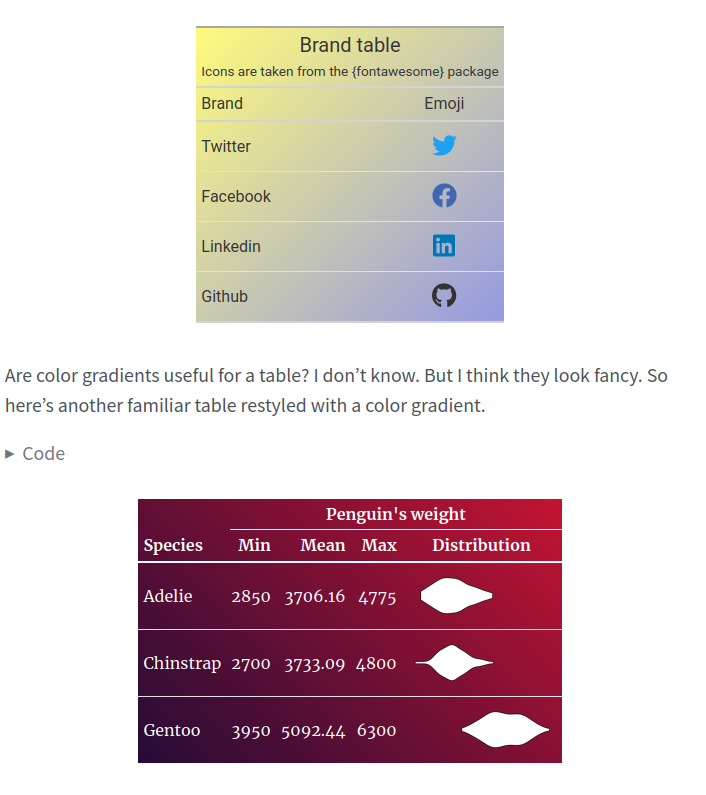
Cool CSS features: HTML & CSS can help you access cool features such as color gradients and hover animations, allowing you to create even more visually appealing tables. Check out this screenshot from my gt book.
Quarto is a web dev gateway drug
Quarto is a powerful tool for creating beautiful and interactive documents. I think of it as a gateway drug to web development: While it offers a user-friendly interface for creating documents and blogs, it also allows users to delve into the world of HTML & CSS without even realizing it.
For example, trying to change the appearance of your Quarto output, will immediately end up in you fidgeting with the HTML/CSS code. Lucky for you, you don’t have to be an expert in HTML & CSS to make that happen. I’ve created two explainer videos that show you how you can style anything in Quarto even if you don’t know HTML and CSS right now.
But even if you want to use features such as the grid-layout, you will write code like this:
Spoiler: This only mimics HTML div tags of the grid class. This code becomes much more understandable once you understand that.
Customized app with {shiny}
Shiny lets you create interactive web applications in R without the need for knowledge of HTML and CSS. However, even a basic understanding of these web standards can be incredibly useful.
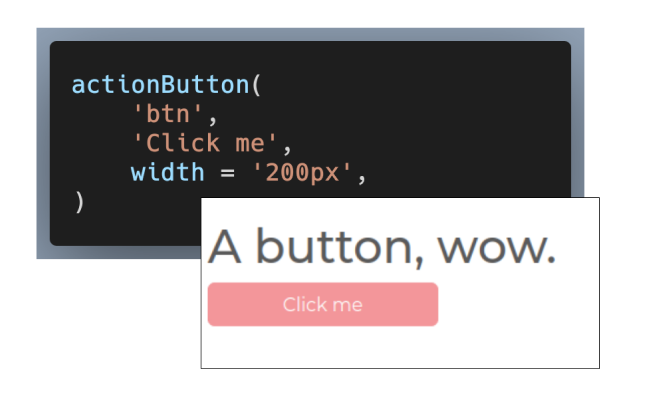
For example, you can use HTML and CSS to customize various aspects of your Shiny application, such as the appearance of input elements like buttons or text boxes. That’s because each input uses the ... operator to accept HTML and CSS. This allows you to easily add custom styles to your inputs without needing to be an expert in CSS.
Don’t believe me? Here’s an easy example. Take a look at the code for a button in Shiny.
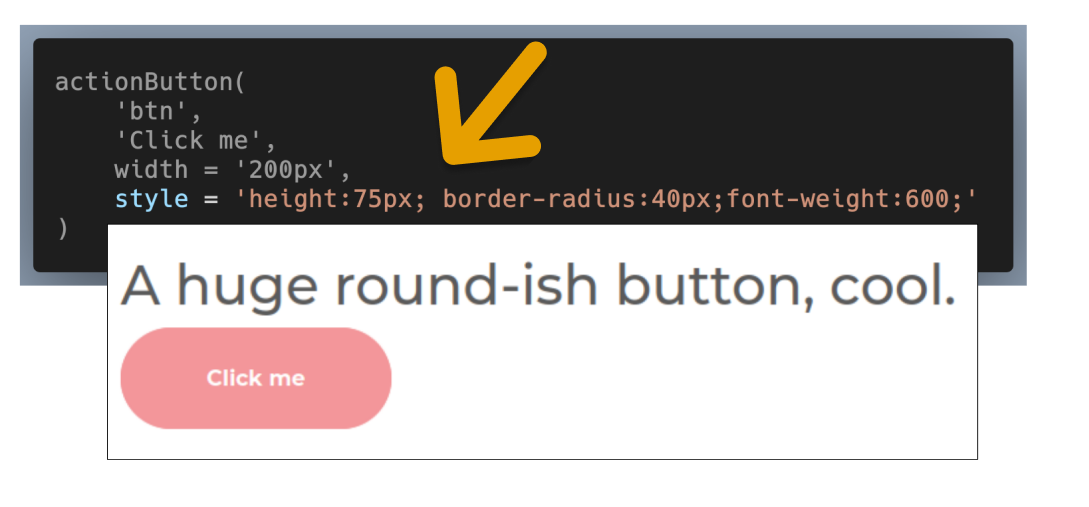
Cool, our button looks different now. As you can see, you don’t need to be an CSS expert to personalize your app like that.
Closing
That’s a wrap. Hope you’ve enjoyed this blog post and will give HTML & CSS a shot now. Let me know if you have any questions or if you just want to share feedback.
This in-depth video course teaches you everything you need to know about becoming better & more efficient at cleaning up messy data. This includes Excel & JSON files, text data and working with times & dates. If you want to get better at data cleaning, check out the course page.
Insightful Data Visualizations for "Uncreative" R Users
This video course teaches you how to leverage {ggplot2} to make charts that communicate effectively without being a design expert. Course information can be found on the course page.
.png)